CLI Basics for Noobs
Me desperately explaining what a CLI is.
What is CLI?
There are generally two types of programs out there:
- GUI - graphical user interface - think of MS Word or Firefox.
- CLI - command line user interface.
In a GUI you use your mouse or touchpad to click buttons move stuff and generally interact with the program. While you can often use tab to move between elements, it most often is a pain. CLI on the other hand are entirely text based! You do not need a mouse or rather you cannot use your mouse. Think of a CLI like a chat: Do stuff! Stuff done. Show directory! These are the files in the directory.
Terminal Emulator

To use a CLI you have to open a terminal emulator (short terminal). Terminal emulators are interchangeable between each other. It generally does not matter wether you use PowerShell, Kitty or WezTerm (my favorite).
A terminal always displays, what has transpired, and always gives the option to input more commands.

Shell
The shell on the other hand is not interchangeable. When using the PowerShell terminal emulator, the shell defaults to PowerShell (thanks microsoft!). On MacOS the default is Zsh and on Linux the default is Bash.
A shell is essentially the way you interact with the system or file system. The usage of shells is not universal! But shells like PowerShell have by default shortcuts emulating commands of shells like bash.
I am on Windows and thus use the PowerShell shell with the WezTerm terminal emulator: 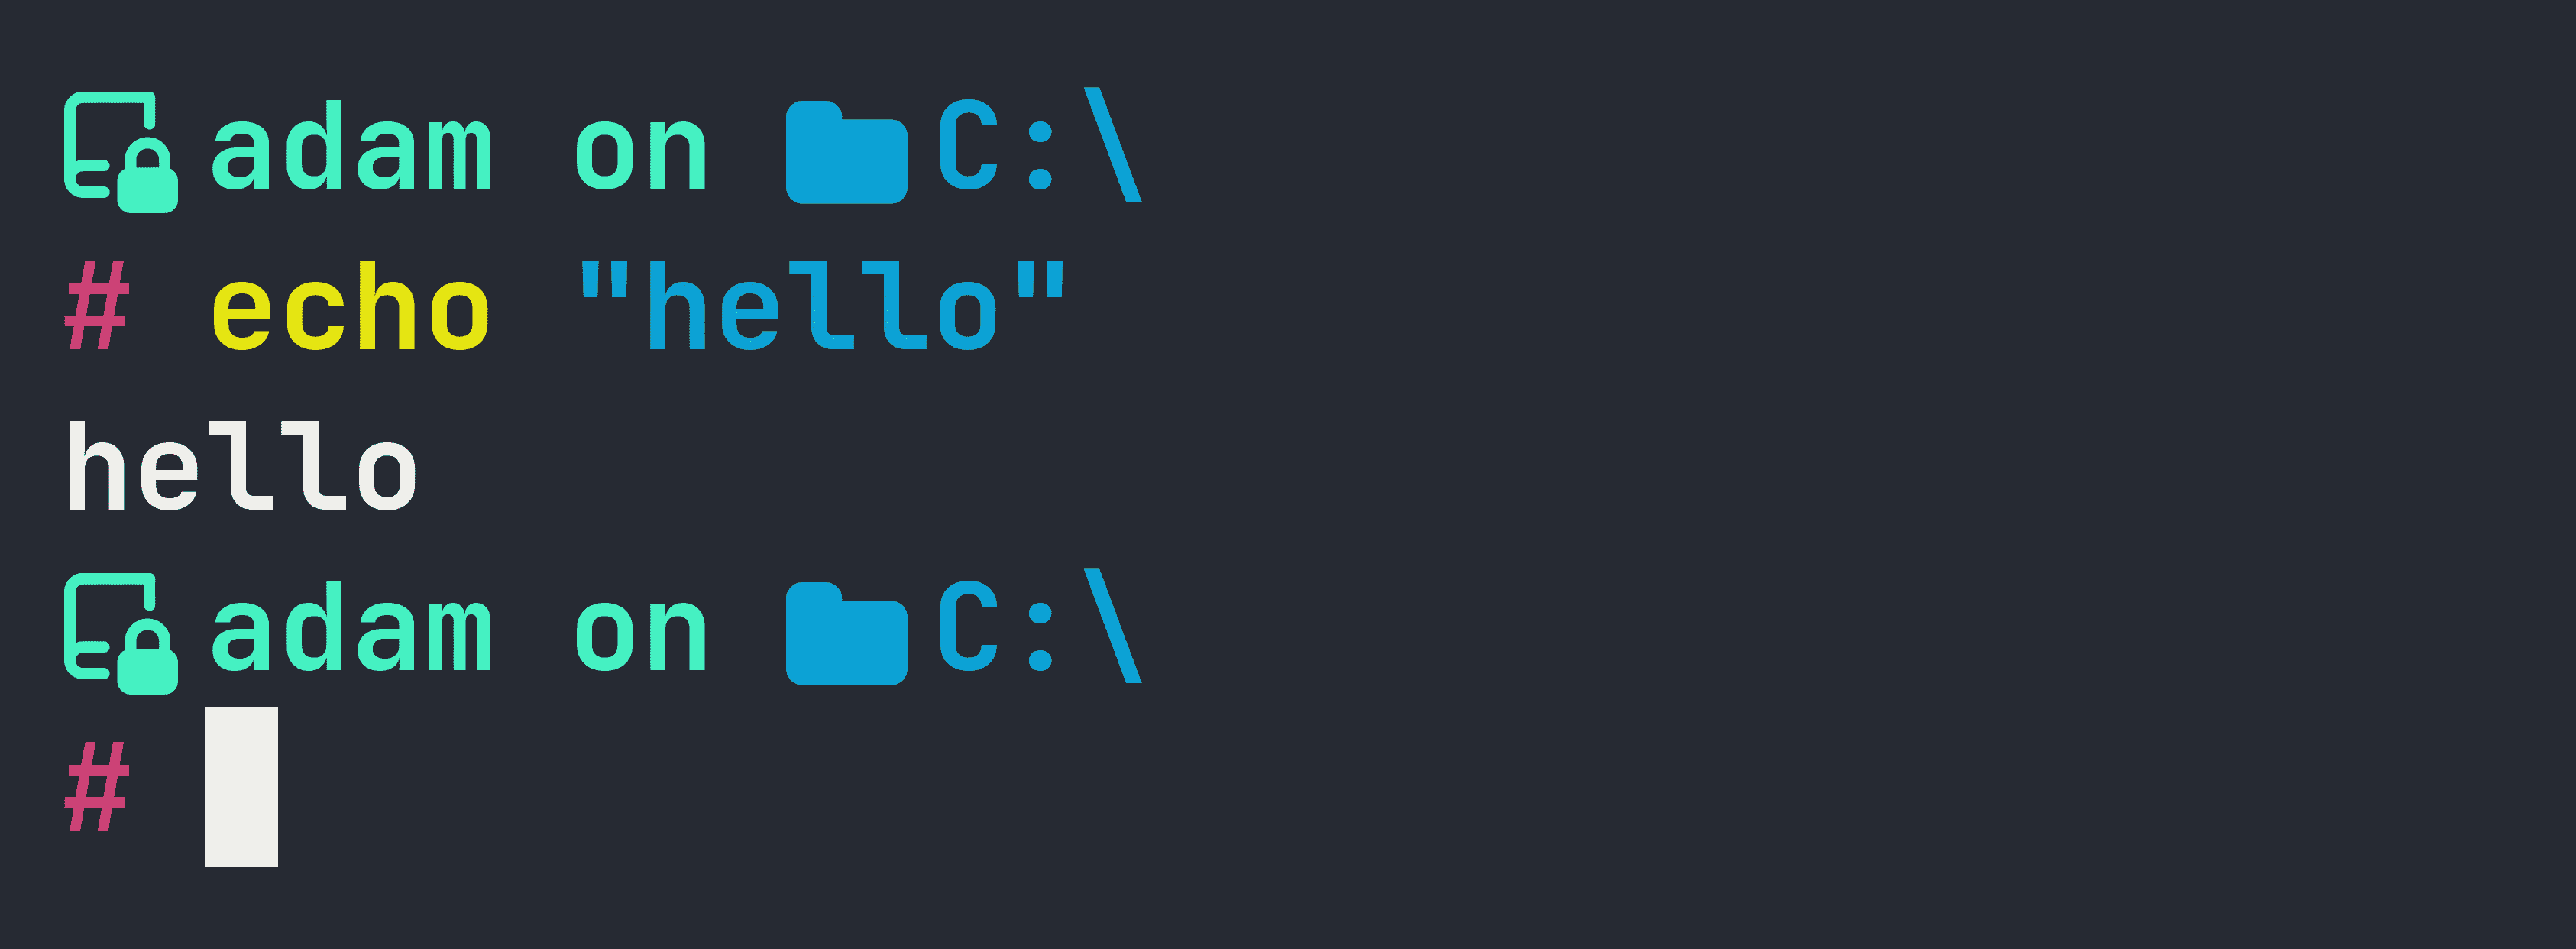 (The icons and the style stem from Oh My Posh.)
Generally speaking, if you have a choice, default to fish on Linux and MacOS and to PowerShell on Windows.
CLI Programs
CLI programs are text based and their usage is almost always similar.
Here are some examples:
# execute the program `ubilerntui`
# get the programs usage
# get a shorter version of its usage
# ask for its version
# ask for it's license
# execute a subcommand
# get the help of the subcommand
There is always the command or rather the main program you seek to execute (here ubilerntui).
To get the usage of the program, you almost always just execute it with the flag --help. If that did not work you might try -h, -help, /H, /HELP, /help, man ubilerntui. To get the help of the very often used command cp you can just type man cp into your terminal.
Options
An option is an argument to a program, that changes its behavior at runtime. An option always takes a value:
As you can see, between option and command / program there is a space! Between the option and its value is a space as well!
The order of arguments is important as well. The value of the option always comes immediately after the option!
Seldomly an option and its value are not separated by a space but rather by an equal sign --this-is-an-option=this-is-a-value.
If the value itself has spaces, the value needs to be enclosed in either " or ':
If the value has either " or ', the opposite symbol escapes it:
Flags
Flags are similar to options but take no value.
# flag is not set
# flag is set
Shorthands
Options and flags often have shorthands.
Shorthands have only one dash and very few characters:
# Often used shorthand for `--help` flag:
Subcommands
Subcommands enable a program to act as if it was multiple programs.
Subcommands generally have their own usage and their own flags and option:
Arguments
Arguments are fixed inputs of a program. Arguments are not optional!
Imagine a program that takes an image and returns the same image with a kitten on it:
It essentially needs two paths:
- The path of the original image.
- The path of the new image.
You could use options here:
But as this program has only one role: Read image and write image with kitten on it. It is much better for the end user to just give those two paths as arguments:
The usage of the program then might look like this:
# Friendly program.
#
# Usage:
# draw-kitten <PATH-TO-INPUT-IMAGE> <PATH-TO-OUTPUT-IMAGE>
#
# Flags:
# --help prints this message
Order
COMMAND [SUBCOMMANDS] [OPTIONS / FLAGS] [ARGUMENTS]
Navigation
Following commands work for PowerShell, Bash, fish, Zsh.
Cheat Sheet
cd - Change Directory
# move into the folder ./path/to/else
# .. denotes the parent directory ;)
# move to home dir
# move to home dir; `~` == home dir
# home dir is on Windows `C:\Users\yourUsername`
# moves to the file system root
# Windows has multiple drives, thus `/` is always the root of the drive your on.
# In Unix (Linux, BSD, MacOS) there is only one root and all drives are part of it.
There is a difference between relative paths and absolute paths:
- relative paths - Paths that start with
./. - absolute paths - Paths that start with a drive letter (
C:\) on windows and the root (/) on Unix.
Absolute paths are independent from the current directory of your terminal session:
# current position: C:/Users/Adam
# current position: C:/test
Relative paths are dependent on the current directory of your terminal session:
# current position: C:/Users/Adam
# current position: C:/Users/Adam/test
Also be aware that PowerShell accepts \ and / for paths while Unix (Linux, BSD, MacOS) only supports /.
mkdir - Make Directory
# create a new directory `new-dir-name` in the directory your currently in
# create a new directory `new-dir-name` in your home directory
rm - Remove
# remove a file (permanent deletion!)
# remove a dir (permanent deletion!)
# recursively delete a dir with PowerShell
# recursively delete a dir with Bash
cp - Copy
# copy file_A
# now you have file_A and file_A_copy
# copy a file into another dir
# now you have file_A and ./some-dir/file_A
# copy a dir with Powershell
# copy a dir with Bash
# you end up with the 2 dirs dir-a and dir-a-copy
# copy dir-a into dir-b with Powershell
# copy dir-a into dir-b with Bash
# you end up with dir-a and ./dir-b/dir-a
mv - Move
Move is very similar to copy.
# rename file_A into file_B
# rename folder-a into folder-b
# The behavior changes, if the second argument is an existing directory.
# move file_A into some-folder
# move folder-a into some-folder